|
|
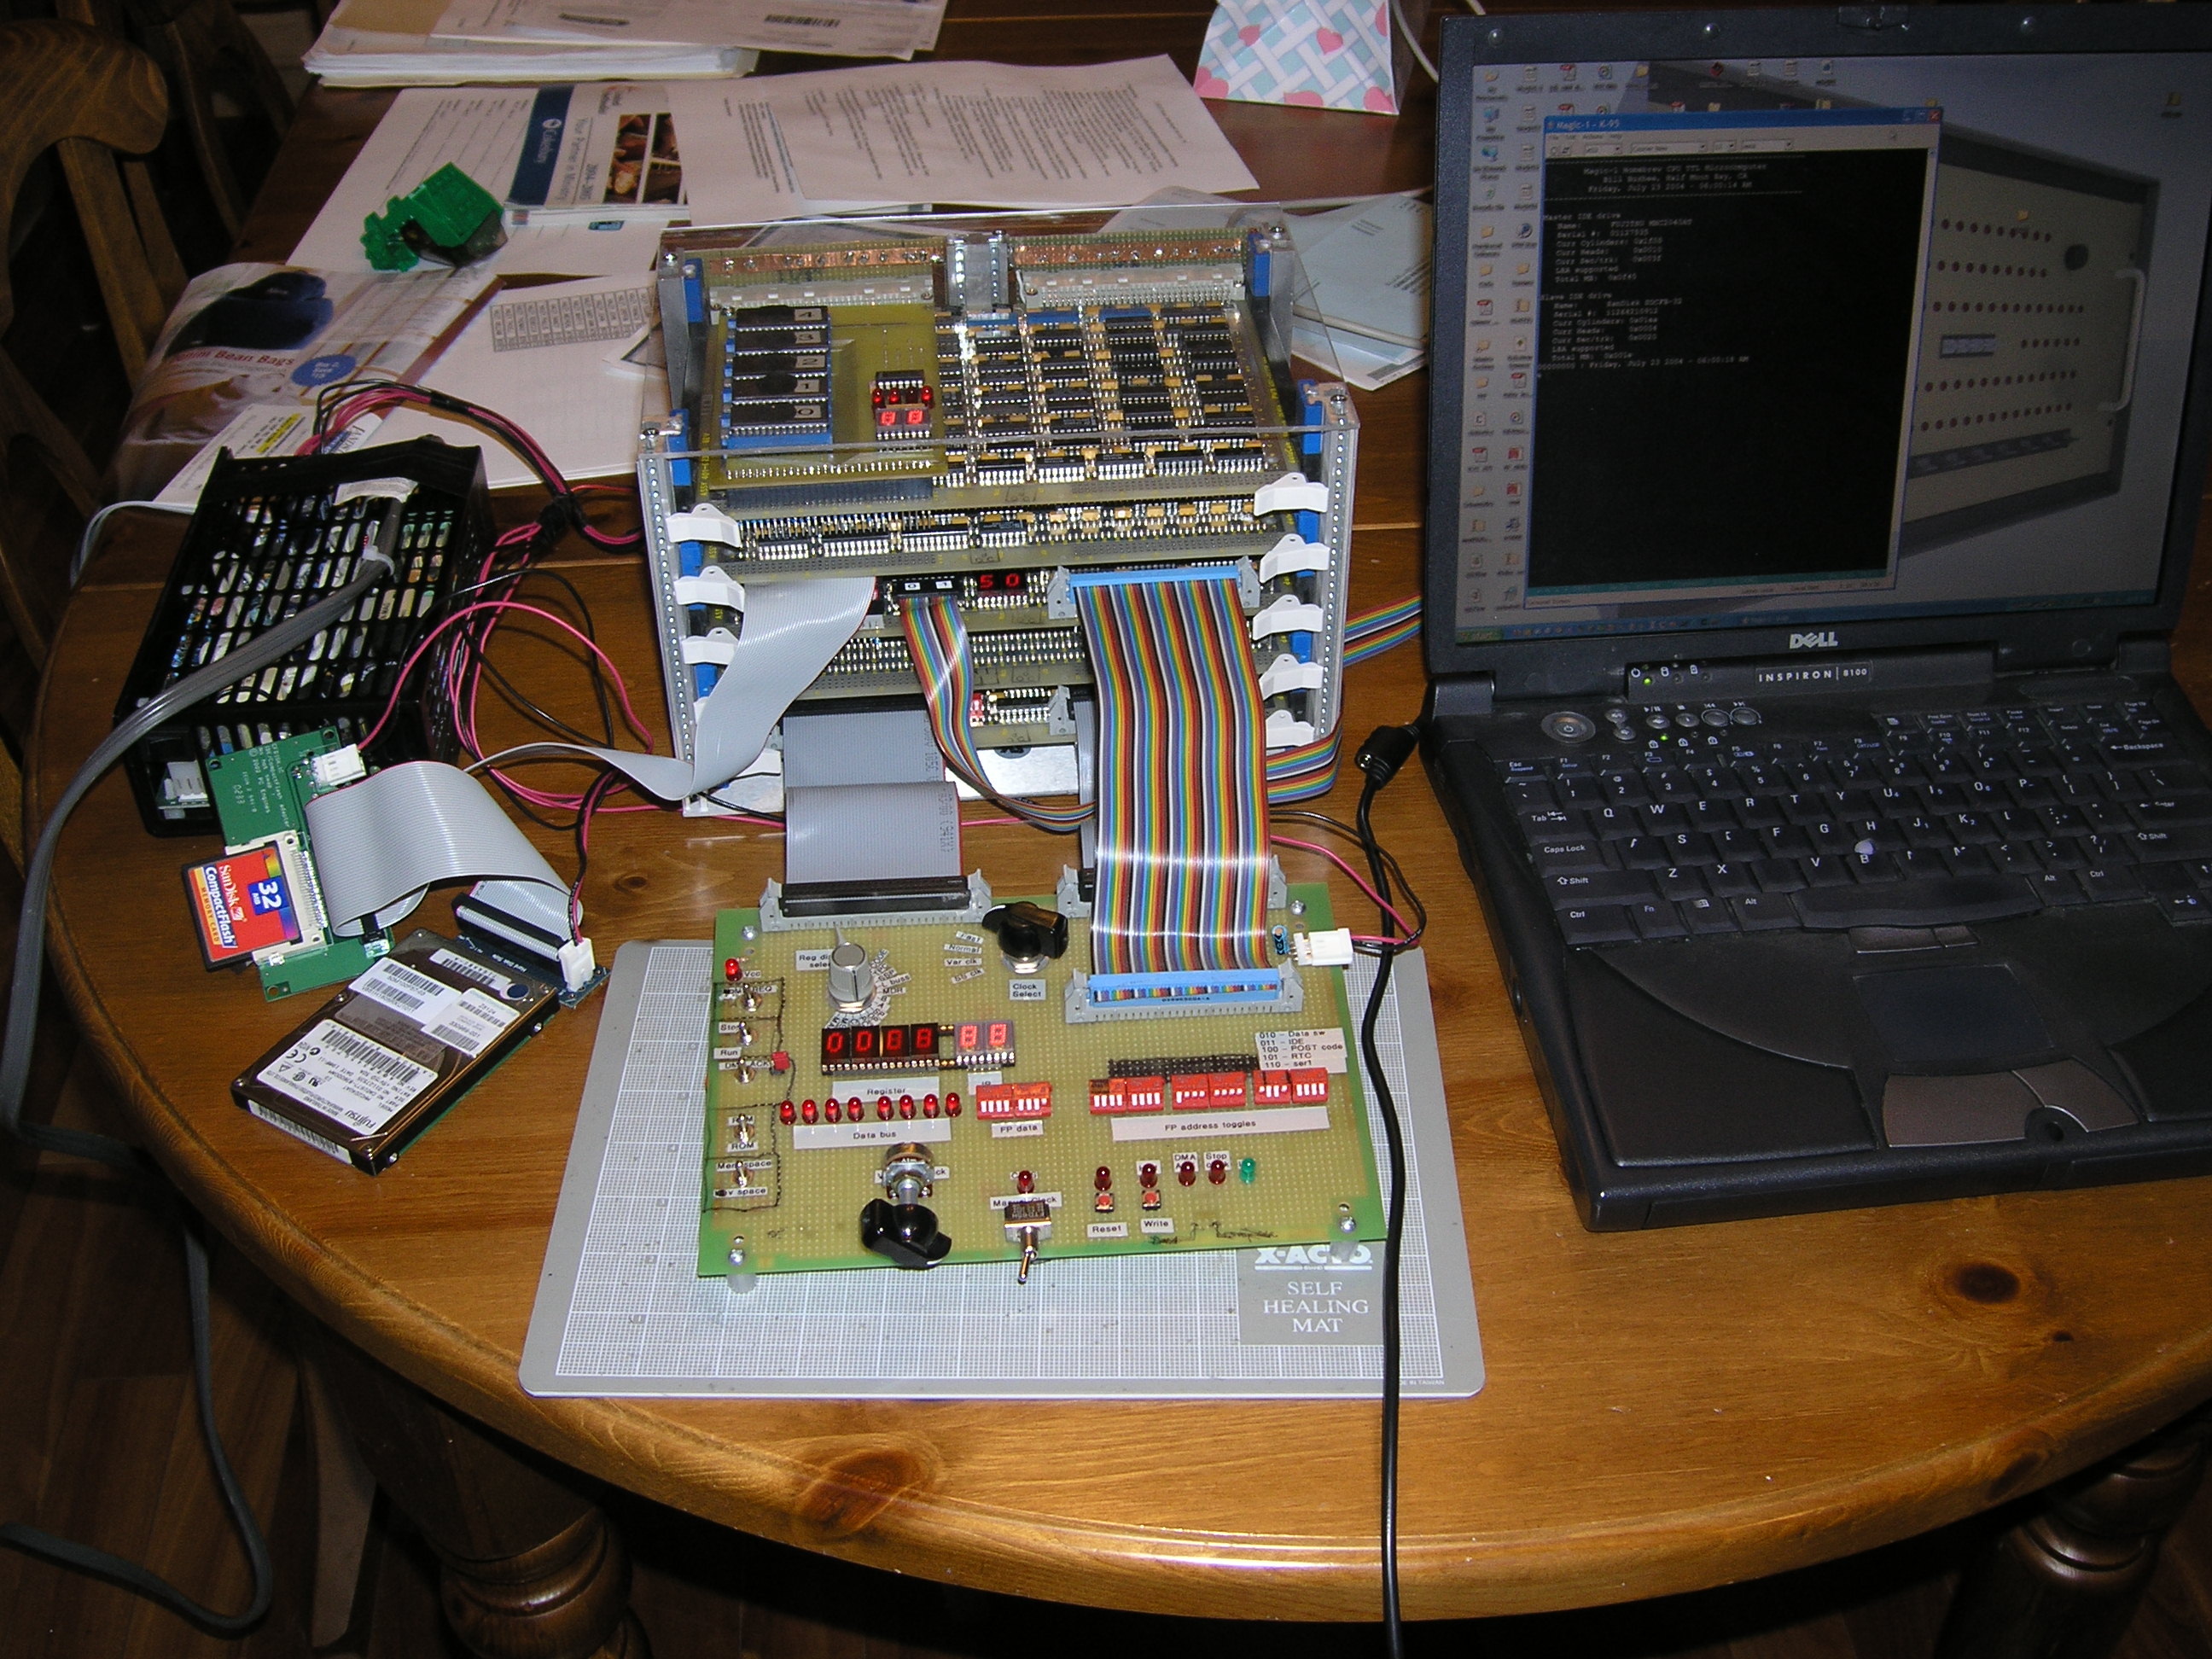
Magic-1Magic-1 is a microcoded minicomputer running at 4.09 Mhz and is in the same ballpark as an old 8086 in performance and capabilities. It supports user and supervisor modes, address translation via a hardware page table, six external interrupts and up to 8 MB of memory (currently has 4 MB). Each process has up to 128 Kbytes of addressing, broken down as 32 pages (2K) of data and 32 pages of code mapped via the page table onto the 23-bit physical memory and device spaces. Here's a picture of it running before the enclosure arrived.
The physical address bus is 22 bits (though effectively 23 because of a signal line which selects between memory and device spaces). The data bus is 8 bits wide, and internal CPU data paths are 16 bits. ALU operations work on both 8 and 16-bit operations, and there are 256 opcodes. Because this is a microcoded machine, each of the instructions causes the execution of a microcode subroutine. The fastest instructions complete in two microinstructions, but on average it takes between 5 and 6 microinstructions to carry out a instruction. Magic-1 started off as a pure one-address accumulator machine. However, during the iterative design process it was modified to allow for more efficient code generation from the C compiler. The result allows for some pretty efficient code, but the tradeoff was loss of instruction set elegance and orthagonality. There is a pretty rich set of addressing modes, emphasizing base+offset. For peripherals, Magic-1 includes an IDE hard drive interface, two serial ports, a full-featured front panel and a real-time clock. I'm currently using an old Hewlett-Packard 20 Mb Kittyhawk 1.3" microdrive as the master hard drive, and a compact flash card as the slave. Oh, and both bits and bytes are numbered from the correct end. Operating SystemMagic-1 runs the Minix 2 operating system. Minix is a Unix-like OS originally written by Andrew Tanenbaum as a teaching tool, and played a significant role in the origin of Linux. See Wikipedia's Minix entry for more details. Minix is notable for its use of an elegent (though somewhat controversial) "microkernel" paradigm. I played briefly with the Macintosh version of Minix in the early 90's, and liked what I saw. When I designed Magic-1 I tried to make sure that it would be capable of supporting Minix. Although there has been a recent release of a new version of Minix (3.0), I decided to use the 2.0.4 source as a starting point for my Magic-1 port. The main reason is that 2.0.4 was the last version known to work on a 16-bit x86 target. Porting Minix was a significant challenge. Although Minix had been ported to several architectures early in its life, by version 2.0.4 it was largely an x86 OS. Interestingly, though, the bulk of the effort wasn't dealing with architecture-specific differences, but rather involved toolchain issues. Thanks to a bit of perserverence, I got it running by the end of the summer of 2007. Unfortunately, I've been spoiled by modern computer performance. Although I knew that my 4.09 Mhz machine was never going to be a speed burner, Minix ran painfully slow on it. I spent some time tuning and was able to make it quite a bit faster, but it was still slow to fork and exec. The main culpret was the simplified memory management that Minix employs (understandably, given it's intent as a teaching tool). Minix does not understand paging, and requires all of a program's code and data to be resident in a contiguous memory block before executing begins. So, I rewrote some key chunks of Minix to implemented demand paging and a technique to speed process creation known as "copy on write". Magic-1 is happier now, and so am I. Web/telnet serverUsing Adam Dunkels' uIP TCP/IP stack and a nifty device server gadget from Lantronics, Magic-1 can act as both a web server and support telnet sessions. Click here to see what pages Magic-1 is serving up, or here to launch a telnet session. [Note: at some point, I expect to use the native Minix TCP/IP stack for serving web pages and remote telnet sessions]. When acting as a web server, Magic-1 talks TCP/IP using uIP. It connects to the internet via a SLIP connection to my Linux machine. When you connect to Magic-1 for a telnet session, you're actually connecting to the Lantronix box and using Magic-1's console serial port. ConstructionMagic-1 is built out of TTL devices, mostly 74LS, 74F and one 74 series device from 1969. Also included are modern SRAM and a handful of support devices (UARTs, PIO, RTC, etc.). The whole thing is put together using a particular type of wire-wrapping: cut-strip-wrap. This was done using an electric wire-wrap gun with a special bit that cuts, strips and wraps the wire in one action. It's also really good at just breaking the wire off rather than wrapping it. Here's a close-up of some of the wraps:
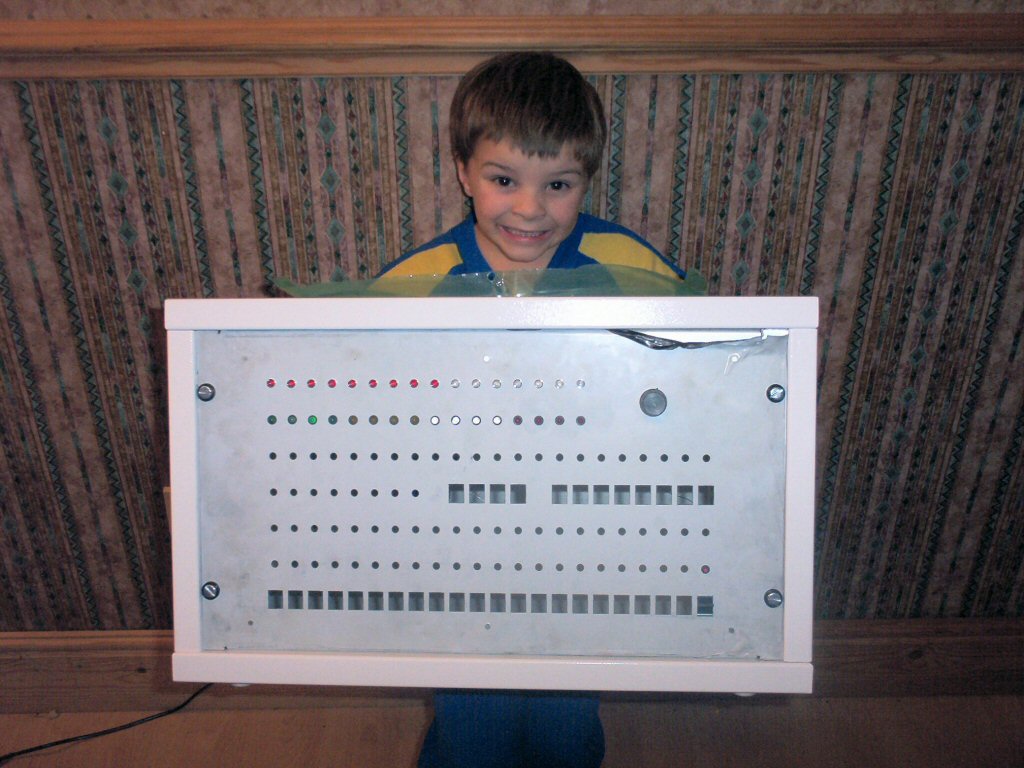
All together there are more than 200 chips spread across 5 wire-wrap prototype cards. I didn't try to count the number of wires, but my rough guess is around 4,000. Building those five cards took about four months worth of evenings and weekends. SoftwareAlthough the hardware design and construction of Magic-1 usually gets the most attention, the largest part of the project (by far) has been developing/porting the software. To this end, I've had to write an assembler and linker from scratch, retarget a C compiler, write and port the standard C libraries, write a simplified operating system and then port a more sophisticated one. It's been a challenge, but a fun one. I suppose I'm somewhat twisted, but I happen to enjoy debugging difficult problems. And, when the bug you're trying to track down could involve one or more of: hardware design flaw, loose or broken wire, loose or bad TTL chip, assembler bug, linker bug, compiler bug, C runtime library bug, or finally a bug in the program in question there's lot of opportunity for fun. Oh, and I also don't have the luxury of blaming the bugs on anyone else. I'm continually amazed that the damn thing runs at all, much less runs as well as it does. Front panel and enclosureOne the best things about Magic-1 is the magnificant front panel and enclosure, and my favorite story is how that front panel and enclosure came about. When I first created this web site, my primary goal was just to have an accessable place to put my design info and running thoughts. I didn't advertise the site, and for a long time I didn't even have my name or contact info on it. Google eventually found it, though - and through Google a fellow from England named Alistair Roe stumbled across it. Alistair thought it an interesting project, and checked the site from time to time as my design progress. In one of my diary musings in 2003 I wrote a few lines about what kind of enclosure I was thinking about (at that time, a clear Lucite one). Alistair emailed me to introduce himself and made some great suggestions. We corresponded a few times about enclosures during the next year or so - but I was busy enough with the wire-wraping and bring-up process that I made no progress on locating a suitable enclosure. Then, on April 9, 2005 I arrived home after a week-long vacation to find an odd package on my doorstep. I opened it up and was rendered speechless. It was a professionally-made custom enclosure and front panel. Alistair had gone ahead and built the enclosure and front panel we'd discussed. I was completely astonished - it was absolutely magnificant. Alistair make the enclosure from 1.5 mm aluminum, weld-free construction, M5 screws and nuts and a nice white paint job. The panels are 2mm aluminum with 10mm folds for added rigidity and the spectacular front and back panels were build using a CNC turret punch press. Here's a picture of Alistair's sone Callum showing it off:
The front panel artwork was done by printing onto large format photo paper (Super B), laminating it at Kinko's and then punching out the LED and switch holes with a 7mm hole punch and square Xacto blade. Here's the final result:
A photo diary of final assembly is here. What's next?Well, this project is pretty much complete. I expect I'll fiddle around with it from time to time, but my original goals have been met and exceeded. Time to try something else now. |